
macOS 환경에서 새로운 프로젝트를 생성하고 GitHub 리포지토리(Repository)에 프로젝트를 업로드합니다.
이 프로젝트의 개발 환경
- 터미널에서 Git 명령어를 사용 할 수 있어야 합니다.
- Git 2.35.1
GitHub에서 저장소 생성
GitHub | Profile | Your Repositories | New를 사용해서 새로운 저장소를 생성합니다.

(1) Repository name 저장소 이름을 입력합니다. (2) Description 저장소를 소개하는 문구를 작성합니다.
저장소 관련 세부 설정을 지정하고 (3) Create respository 저장소를 생성합니다.

저장소 URL을 복사합니다.
새로 생성된 저장소는 GitHub | Profile | Your repositories에서 확인 할 수 있습니다.

저장소를 클릭하면 언제든 저장소 URL을 확인 할 수 있습니다.
저장소와 프로젝트 연결
터미널을 열고 저장소에 연결하려는 프로젝트 디렉토리로 이동합니다. git init을 사용해 git 저장소를 초기화합니다.
$ git init

힌트: Using 'master' as the name for the initial branch. This default branch name
힌트: is subject to change. To configure the initial branch name to use in all
힌트: of your new repositories, which will suppress this warning, call:
힌트:
힌트: 	git config --global init.defaultBranch <name>
힌트:
힌트: Names commonly chosen instead of 'master' are 'main', 'trunk' and
힌트: 'development'. The just-created branch can be renamed via this command:
힌트:
힌트: 	git branch -m <name>
/Users/namepgb/Desktop/examples/spring/spring5fs/.git/ 안의 빈 깃 저장소를 다시 초기화했습니다
git status를 입력합니다. 추적하지 않는 파일: 항목에서 커밋(Commit)해야 할 파일을 보여줍니다.
$ git status

현재 브랜치 master

아직 커밋이 없습니다

추적하지 않는 파일:
  (커밋할 사항에 포함하려면 "git add <파일>..."을 사용하십시오)
	sp5-chap02/

커밋할 사항을 추가하지 않았지만 추적하지 않는 파일이 있습니다 (추적하려면 "git
add"를 사용하십시오)
git add <파일 경로>를 사용해 커밋할 파일을 추가합니다.
현재 디렉토리의 모든 파일을 커밋에 추가하려면 git add .을 사용합니다.
$ git add .git commit -m "커밋 메시지"를 사용해 현재 내용을 커밋합니다.
$ git commit -m "Spring 예제 프로젝트 시작"
[master (최상위-커밋) b6c96e5] Spring 예제 프로젝트 시작
 25 files changed, 365 insertions(+)
 create mode 100644 sp5-chap02/.gradle/6.7.1/executionHistory/executionHistory.bin
 create mode 100644 sp5-chap02/.gradle/6.7.1/executionHistory/executionHistory.lock
 create mode 100644 sp5-chap02/.gradle/6.7.1/fileChanges/last-build.bin
 create mode 100644 sp5-chap02/.gradle/6.7.1/fileHashes/fileHashes.bin
 create mode 100644 sp5-chap02/.gradle/6.7.1/fileHashes/fileHashes.lock
...
GitHub에서 생성한 저장소에 내 프로젝트를 추가합니다. git remote add origin <GitHub 저장소 URL>을 사용합니다.
$ git remote add origin https://github.com/namepgb/spring5fs.gitgit push origin master을 사용해 커밋한 내용을 원격 저장소로 푸시(Push)합니다.
$ git push origin master

Username for 'https://github.com': guenbongs@gmail.com
Password for 'https://guenbongs@gmail.com@github.com':

오브젝트 나열하는 중: 37, 완료.
오브젝트 개수 세는 중: 100% (37/37), 완료.
Delta compression using up to 12 threads
오브젝트 압축하는 중: 100% (27/27), 완료.
오브젝트 쓰는 중: 100% (37/37), 61.13 KiB | 12.22 MiB/s, 완료.
Total 37 (delta 4), reused 0 (delta 0), pack-reused 0
remote: Resolving deltas: 100% (4/4), done.
To https://github.com/namepgb/spring5fs.git
* [new branch] master -> master원격 저장소에 접근하면 Username과 Password를 확인합니다(계정 정보는 최초 접근 이후 원한다면 캐싱됩니다).
Username은 GitHub의 계정(이메일을 포함)을 사용합니다.
Password는 GitHub의 계정 비밀번호 또는 계정의 Access Key를 사용합니다.
GitHub에서 저장소 확인
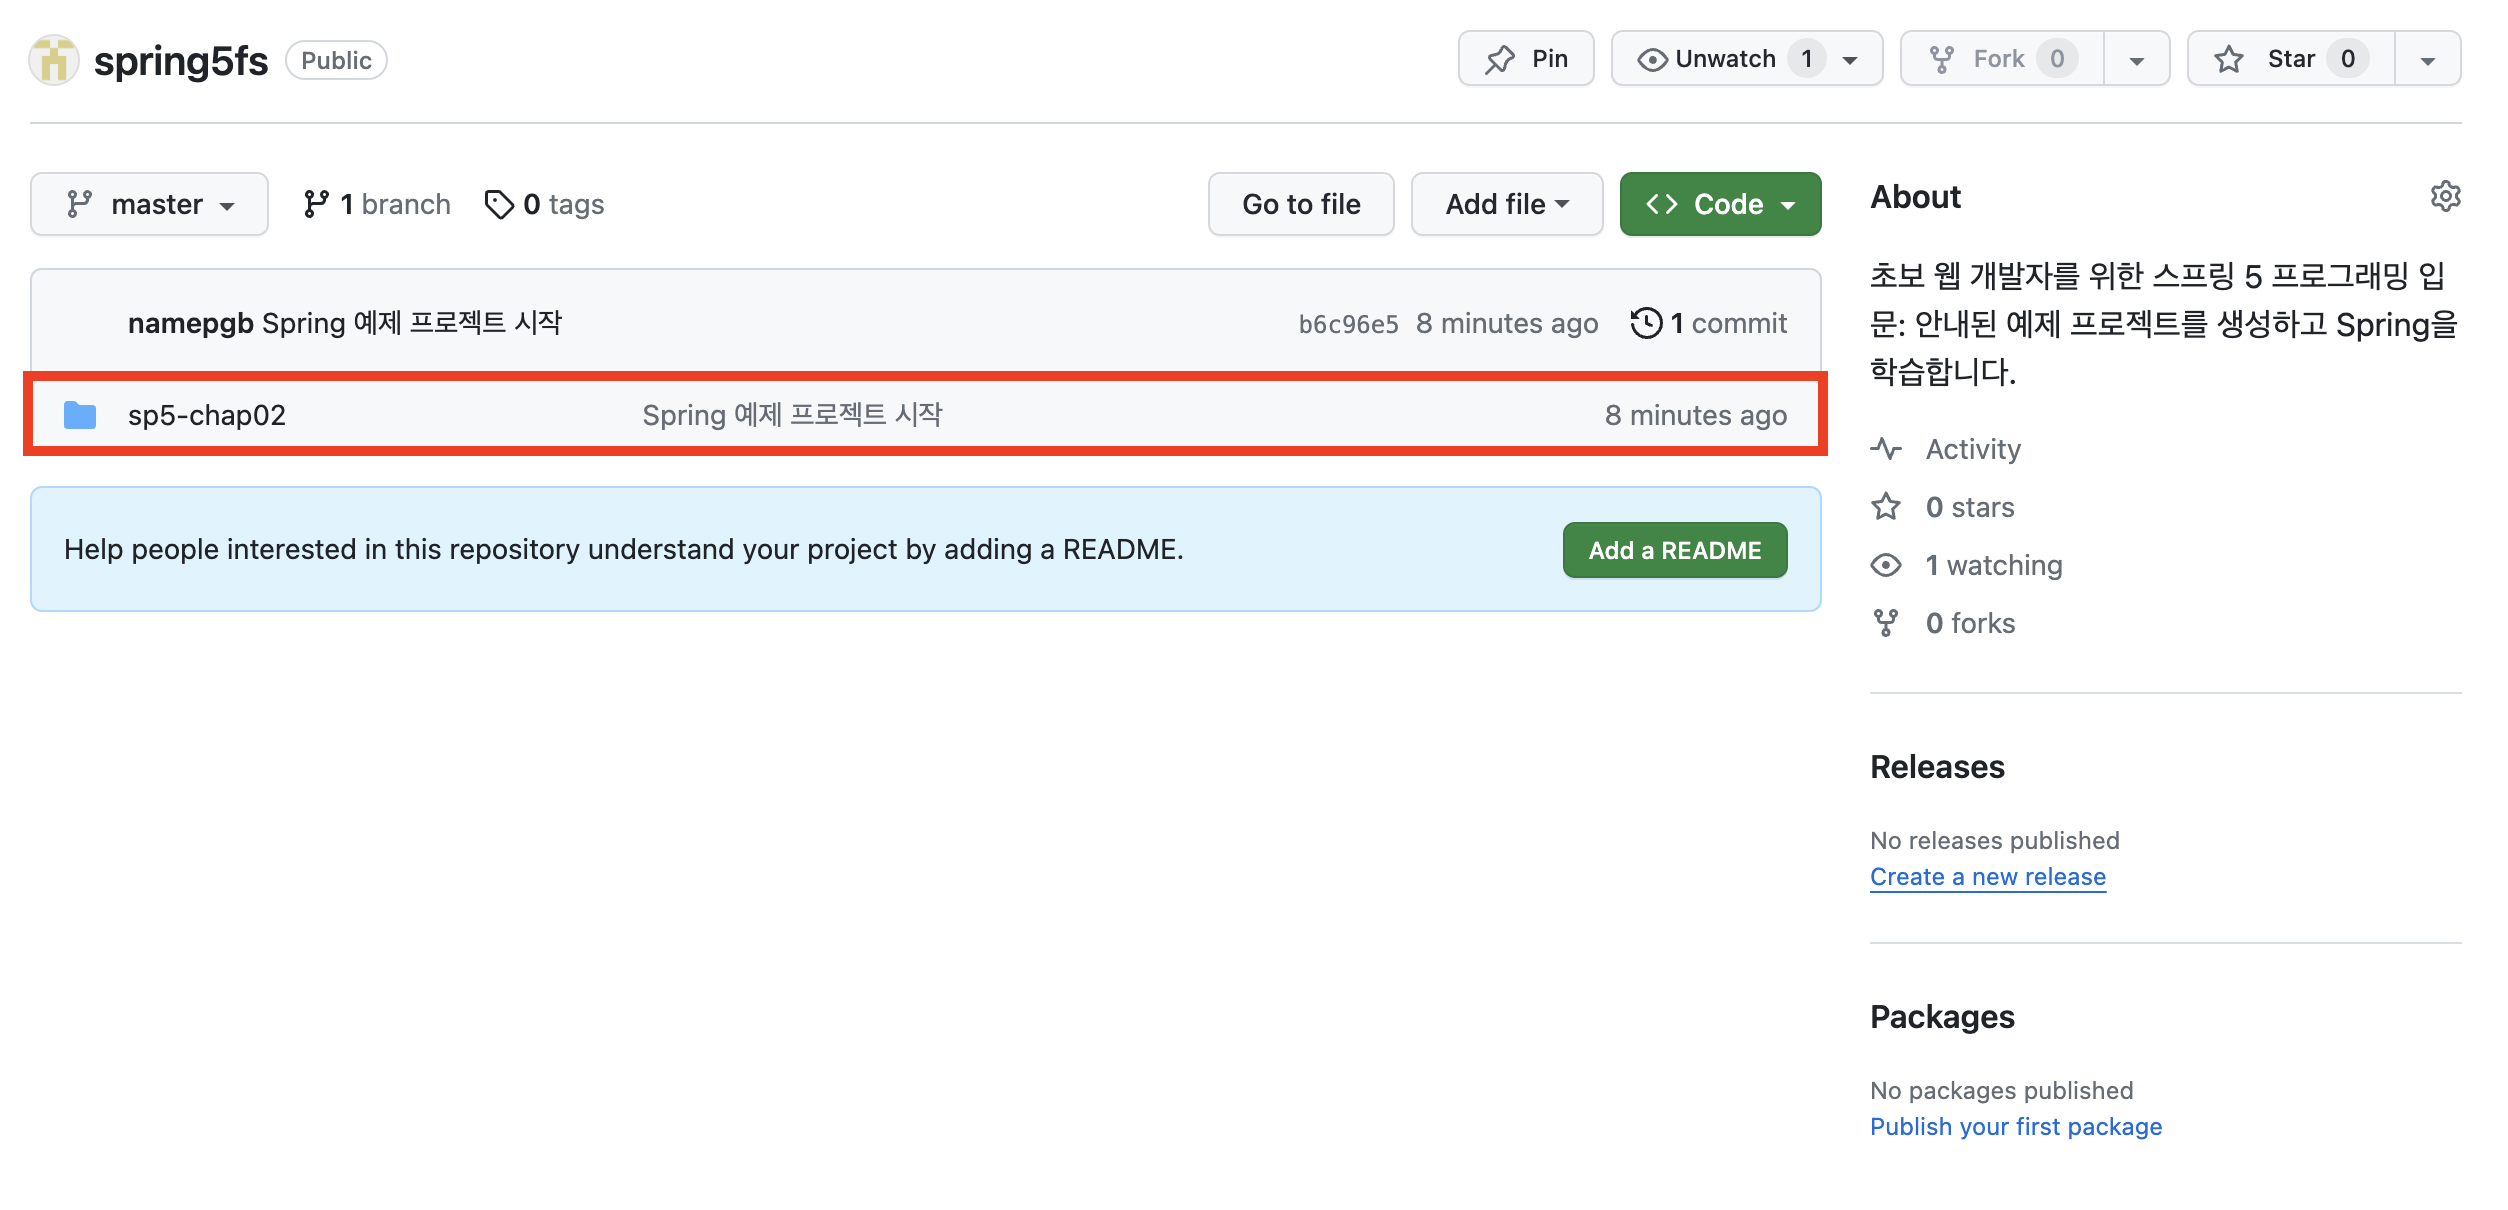
GitHub | Profile | Your repositories에서 프로젝트와 연결한 저장소에 들어갑니다.
커밋 메시지와 커밋 시간으로 프로젝트가 정상적으로 연결되었는지 확인합니다.
정리 및 복습
- GitHub에서
원격 저장소를 새로 생성합니다. - 터미널에서 연결하려는
프로젝트의 디렉토리 경로로 이동합니다. git init으로 초기화하고git commit으로 프로젝트를 커밋합니다.git remote add origin <GitHub 저장소 URL>으로 원격 저장소에 프로젝트를 등록합니다.git push origin master으로 커밋 내용을 원격 저장소에 푸시합니다.
'SCM > Git, GitHub' 카테고리의 다른 글
| GitHub에서 "remote: Support for password authentication was removed on August 13, 2021" 오류 (0) | 2023.11.20 |
|---|
